SS-MOTO
R7/FZ/MT07 AXLE ADJUSTERS
R7/FZ/MT07 AXLE ADJUSTERS
Couldn't load pickup availability
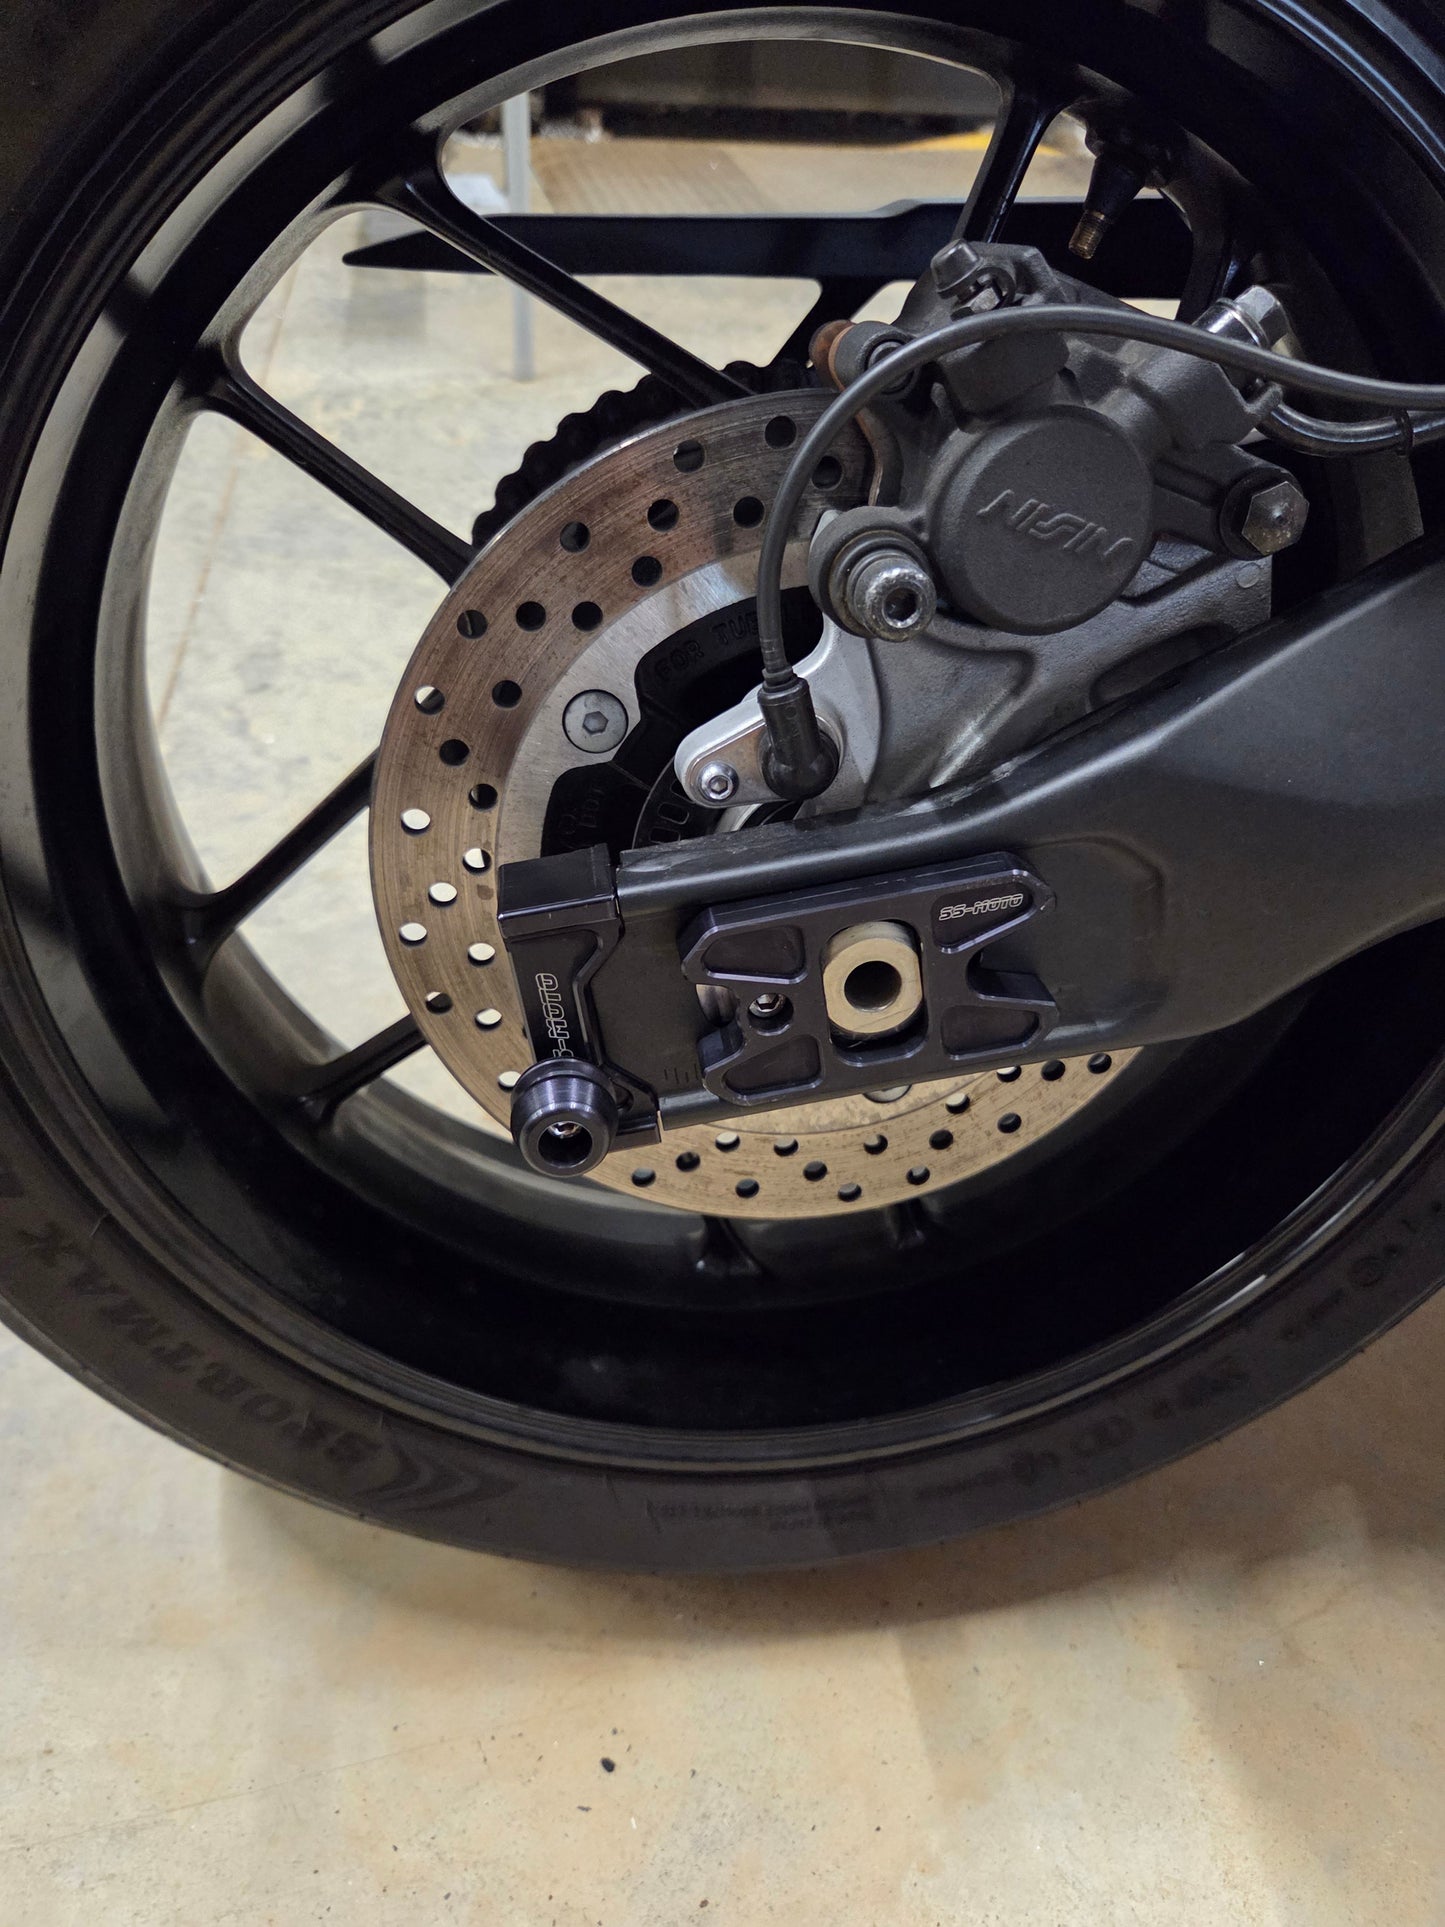
These encapsulated axle adjusters make removing the rear wheel from your R7/FZ/MT07 easier. The encapsulated design keeps the end cap in place while you line up the wheel and axle adjusters. The thicker cap is designed to resist snapping compared with the stock cap.
Fitment and model-year coverage
- Rear axle adjusters: Yamaha R7, FZ-07 and MT-07. Exact model-year coverage is not specified in this listing. Confirm your model, year and current axle/swingarm setup with SS-MOTO before ordering or installing.
- Optional front axle sliders: The front-slider option is listed for R7 and 2025+ MT-07. This is separate from rear-adjuster fitment; do not assume it fits an FZ-07 or an earlier MT-07.
Installation requirements and alignment-block selection
These adjusters do not work with stock outer alignment blocks. SS-MOTO outer alignment blocks are required. Choose the option that matches your setup:
- I already have SS-MOTO outer alignment blocks: Select only if you already own the compatible SS-MOTO blocks.
- Add Outer Alignment Blocks (No Sliders): Required outer blocks without integrated axle sliders.
- Add Outer Blocks With Integrated Axle Sliders: Required outer blocks with integrated rear axle sliders.
Swingarm spools and front axle sliders are optional add-ons. Rear outer blocks with integrated sliders and matching front axle sliders are available for additional protection. Axle sliders can also be purchased separately from the axle-slider listing without the internal adjusters.
Adjustment direction
These adjusters are designed to pull the rear wheel backward to tighten the chain. The adjuster bolt is not encapsulated to push the wheel forward. If the wheel must move forward, follow the model-specific service procedure; do not force the adjuster bolt to push it.
Socket clearance
The axle-nut opening on the slider block fits a regular 27 mm chrome-style socket. Thick-wall impact sockets may not fit. Check socket clearance and full engagement before tightening; do not force an oversized socket into the opening.
Wheel alignment and measurement
Use the Yamaha service manual for your exact model and year for the approved alignment method, chain-slack specification, measurement condition and tightening sequence. This overview does not replace that procedure.
- Securely support the motorcycle as specified in the service manual, with the engine off. Prepare the axle and adjuster hardware for adjustment according to that manual.
- Move the axle rearward in small, balanced adjustments on both sides, keeping the axle and blocks properly seated. Set chain slack using the manual's specified measurement point and motorcycle condition.
- Check left and right axle alignment using the manual's approved reference points or a suitable alignment tool. If the approved method uses pivot-to-axle measurements, measure center-to-center on both sides from the specified swingarm-pivot reference to the rear axle, using the same tool and method. Do not substitute unrelated edges or assume equal adjuster turns prove alignment.
- Correct any mismatch and recheck chain slack. Rotate the rear wheel by hand, keeping fingers clear of the chain and sprockets, and check slack through the wheel's rotation as directed by the manual.
- Tighten and secure the axle and adjuster hardware in the specified sequence to the correct model-year torque values. Recheck alignment and chain slack after final tightening.
Installation checklist
- Confirm exact model/year fitment and compatible SS-MOTO outer blocks before starting.
- Have the model-specific service manual, secure motorcycle support, correctly fitting tools and a calibrated torque wrench available.
- Inspect the adjusters, blocks, axle and hardware for damage; do not install damaged or incompatible parts.
- Follow the service manual for wheel removal and installation, retaining the correct orientation and placement of spacers, brake components and axle hardware.
- Confirm the blocks are fully seated, the wheel is aligned and chain slack meets the manual's specification.
- Complete all required torque and locking steps. Check wheel rotation, clearances and rear-brake operation before riding.
- If anything binds, shifts, loosens or cannot be verified, stop and have the installation inspected by a qualified motorcycle technician.
Safety note
Incorrect installation, wheel misalignment, improper chain slack or loose axle hardware can cause loss of control and serious injury or death. Installation and adjustment should be performed by a qualified motorcycle technician. Always follow the Yamaha service manual for your exact model and year, together with SS-MOTO's product-specific instructions. Do not ride until fitment, alignment, chain slack, hardware security and brake operation have been verified. Sliders cannot guarantee protection from injury or motorcycle damage.
Install video: Coming soon to our YouTube channel.
Share